Silence the Squeak: Your Ultimate Guide on How To Fix Creaky Floorboards
There's nothing quite like the charm of a beautiful home, but even the most elegant living spaces can be marred by the persistent annoyance of creaky floors. If you've ever been startled by an unexpected groan or a tell-tale squeak from beneath your feet, you know the frustration. Far from just a minor irritation, creaky floorboards can disrupt the tranquility of your home, signal underlying issues, and even become a trip hazard over time. The good news? Many of these noisy nuisances can be tackled with straightforward DIY solutions, regardless of your floor type. This comprehensive guide will walk you through understanding why your floors creak, how to pinpoint the problem areas, and provide step-by-step instructions on how to fix creaky floorboards yourself.
Unraveling the Mystery: Why Do Floors Creak?
Before diving into fixes, it's crucial to understand the root causes of creaking. As Adrian Cox, managing director of Fix-A-Floor, points out, the type of flooring plays a significant role in why these sounds occur. Understanding the mechanics behind the noise is the first step in effectively silencing it.
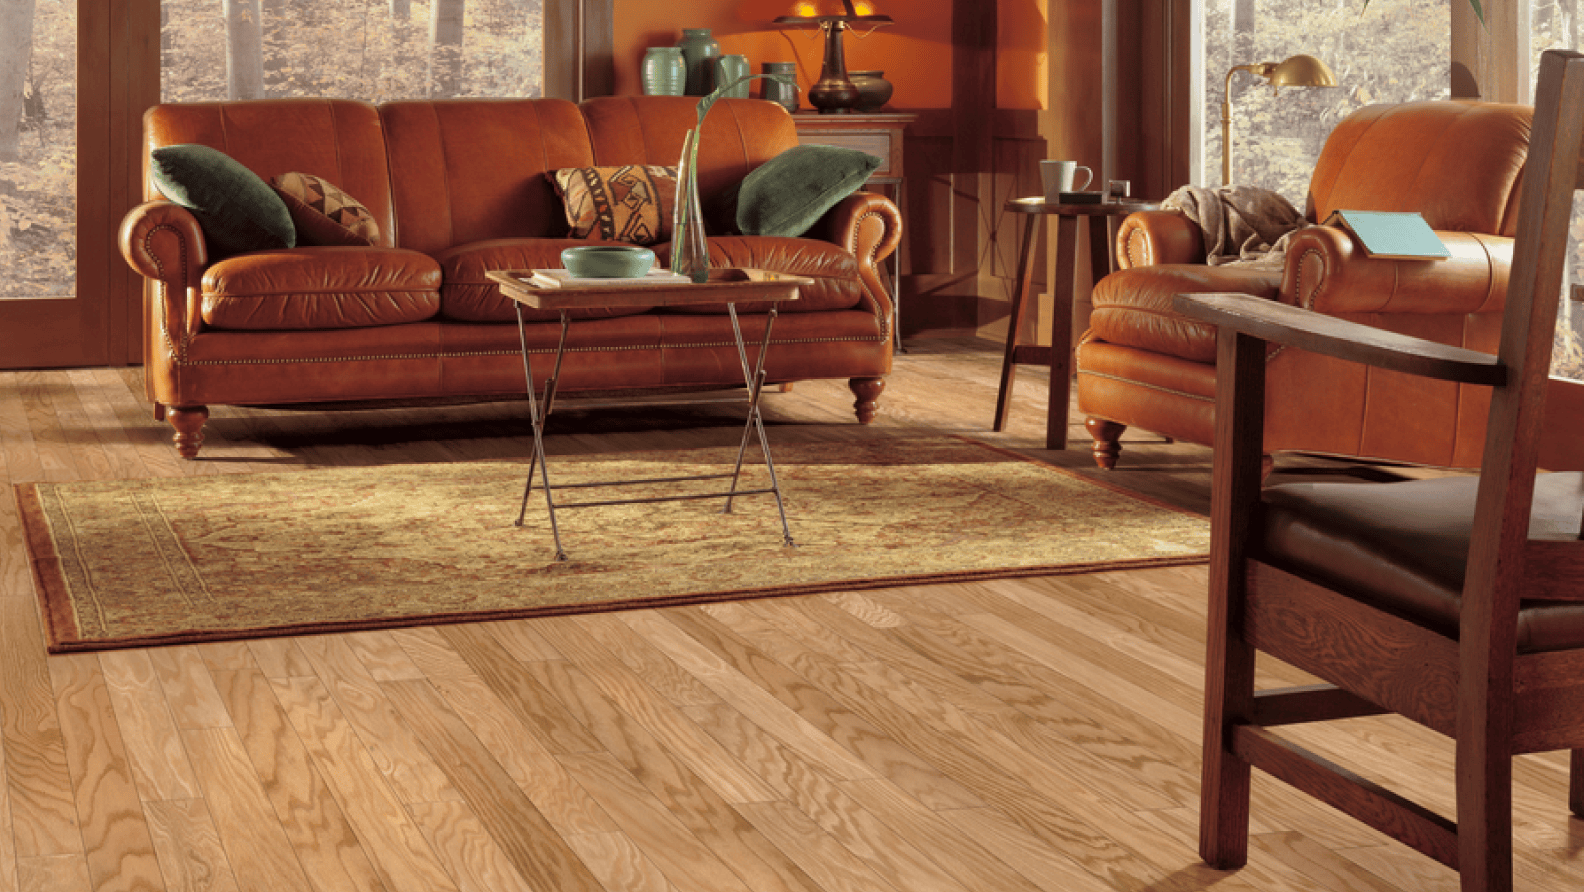
- Hardwood Flooring: Beloved for its timeless beauty and durability, hardwood is also a natural material that responds to its environment. The most common culprits here are wood shrinkage and loose nails. Over time, wood naturally dries out and contracts, creating tiny gaps between boards or where boards meet joists. When weight is applied, this movement causes friction, resulting in that familiar creak. Loose nails simply allow more play in the boards.
- Laminate Flooring: Often chosen for its affordability and ease of installation, laminate can develop creaks if the underlayment shifts or was improperly installed. Gaps between the subfloor and the laminate planks, or insufficient padding, can lead to movement and noise as the interlocking planks rub against each other or the subfloor.
- Carpeted Floors: While the carpet itself absorbs sound, creaks emanating from a carpeted room usually point to issues with the underlying structure. The subfloor or joists beneath the carpet may have loosened over time, creating friction and movement that the carpet simply can't mask.
- Vinyl Flooring: Modern vinyl planks and tiles are typically adhered to the subfloor. If the adhesive weakens or fails in certain spots, the vinyl can lift slightly and rub against the subfloor, producing a distinct creaking or popping sound.
Beyond specific floor types, several overarching factors contribute to floor creaks:
- Age of Home and Floor: As Mr. Cox notes, "The older they are, the more likely issues will occur." Materials settle, shift, and wear down over decades.
- Environmental Changes: Frequent fluctuations in humidity and temperature are major antagonists for wooden floors. Wood expands and contracts with moisture, leading to warping, shifting, and loosening of boards and fasteners.
- Subfloor Issues: The subfloor is the foundation beneath your finished flooring. Any irregularities, gaps, or loosening in the subfloor can transfer directly to the top layer, causing creaks.
Ignoring these seemingly minor creaks can have a "snowball effect," leading to more significant and expensive repairs down the line. Loose floorboards can become trip hazards, and persistent noise can undeniably detract from your home's comfort and appeal.
Playing Detective: Identifying Creaky Areas
Before you can fix creaky floorboards, you need to know exactly where they are. This investigative stage is usually quite straightforward.
- Walk and Listen: Start by walking slowly across all areas of your floor, paying close attention to any creaks or squeaks. Focus on high-traffic zones like hallways, doorways, and around furniture, as these are common trouble spots identified by Mr. Cox.
- Pinpoint with Precision: Once you hear a creak, narrow down its exact location. Step on various parts of the board, trying to identify the precise spot where the sound originates.
- Enlist an Assistant: "It helps to have someone else walk around at the same time, so you can pinpoint trouble areas more quickly," advises Cox. One person can walk while the other listens from a different angle or even inspects from below if you have basement or crawl space access.
- Mark the Spots: Use painter's tape or a piece of chalk to mark the exact locations of the creaks. This will save you time and ensure you address every problem area.
DIY Solutions for Every Floor Type: Your Step-by-Step Guide
Once you've identified the culprits, it's time to get to work. Most creaks can be silenced with a few common tools and a bit of patience. For more detailed insights into various techniques, consider exploring Silence Squeaky Floors: Shims, Lubrication & Tightening Methods.
Method 1: Fixing from Below (If Accessible)
This is often the most effective method, as it directly addresses the movement between the subfloor and the joists.
- Access the Area: If you have an accessible basement or crawl space beneath the creaky floor, grab a flashlight and head down.
- Locate Gaps: Look for any visible gaps between the top of the floor joist and the underside of the subfloor. These gaps are where the movement and friction are occurring.
- Insert Shims: Take a thin wooden shim (a small, tapered piece of wood) and apply a strong wood glue to it. Carefully push the shim into the gap.
- Caution: Be extremely careful not to push the shim in too far, as this could inadvertently raise the subfloor or floorboards above, creating a hump. You want to fill the gap just enough to prevent movement.
- Secure (Optional): For added security, you can use a small amount of construction adhesive around the shim or even nail it lightly in place, ensuring the nail doesn't go through the finished floor above.
Method 2: Fixing from Above (When Access Below is Limited)
When you can't get under the floor, these surface-level solutions can often do the trick.
- Lubricating Floorboards: Friction is the enemy here. Reducing it can effectively silence many creaks.
- Materials: Powdered graphite, talcum powder, or even cornstarch can work.
- Application: Sprinkle a generous amount of your chosen powder directly into the cracks between the noisy floorboards.
- Work it In: Use a warm cloth or a soft brush to gently work the powder into the gaps. The fine particles will act as a lubricant, reducing friction when the boards move.
- Clean Up: Wipe away any excess powder with a damp cloth, ensuring it doesn't leave a residue on your floor.
- Tightening Screws and Nails: Loose fasteners are a prime cause of creaks, especially in hardwood floors.
- Identify Loose Fasteners: Look for any nails that have popped up slightly or screws that appear loose.
- Tighten Screws: If your floorboards are fastened with screws, use a drill or a screwdriver to gently tighten them.
- Caution: Do not overtighten, as this can strip the screw hole or damage the floorboard itself. Aim for snug, not strained.
- Address Loose Nails: If you have loose nails, you can try tapping them back down carefully with a hammer and a nail set. For chronically loose nails, consider replacing them with longer, stronger flooring screws. Countersink the screws slightly below the surface and fill the hole with wood putty that matches your floor.
- Safety First: Always wear safety glasses and gloves when using tools, especially hammers and drills.
- Specific Considerations for Different Floor Types:
- Laminate: If your laminate is creaking, it might be due to a shifting underlayment or improperly connected planks. While you can't "tighten" laminate, you can sometimes apply a small bead of wood glue into a visible gap between planks, using painter's tape to hold them together while the glue dries. If the underlayment is the issue, it may require removing and re-installing the laminate in that section, ensuring proper underlayment thickness and continuity.
- Vinyl: For vinyl, if the adhesive has failed, carefully lifting the affected plank or tile and reapplying a strong vinyl adhesive can often solve the problem. Ensure the subfloor is clean and dry before re-adhering.
- Carpet: Since the problem lies beneath, fixing creaks under carpet typically involves identifying the joist or subfloor issues as described in "Fixing from Below." If subfloor access isn't possible, a specialized floor repair kit that screws through the carpet into the subfloor and joist might be an option, but these require careful execution to avoid visible damage.
When to Call in the Experts: Knowing Your Limits
While many creaks are DIY-friendly, some situations warrant professional attention. Don't hesitate to call in an expert if:
- Creaks Persist: You've tried multiple DIY solutions, but the noise keeps coming back or is getting worse.
- Major Subfloor Issues: You suspect the problem lies with significant subfloor damage, water damage, or structural issues with the joists. Addressing these often requires specialized tools and expertise.
- Lack of Access: You can't access the area below the floor, and surface fixes aren't working.
- Uncertainty: You're unsure about the cause or uncomfortable performing the repairs yourself.
- Extensive Damage: If multiple large sections of your floor are creaking, it might indicate a more widespread issue that a professional can diagnose and fix efficiently.
Conclusion
Creaky floorboards can be a minor annoyance or a symptom of deeper issues, but with the right approach, many can be silenced with satisfying DIY results. By understanding the causes, precisely identifying the problem spots, and applying the appropriate techniques – whether it's shimming from below, lubricating from above, or tightening fasteners – you can restore peace and quiet to your home. Remember to prioritize safety and know when a professional's expertise is needed. A quiet floor not only enhances your home's comfort but also contributes to its overall longevity and appeal.